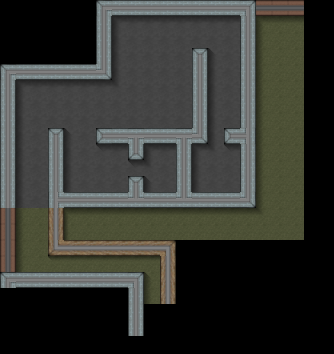
I new here, and I found out that 3D walls are awesome in cs2d maps. So could anyone teach me how to create 3D, easy and realistic walls from a texture?
Forum
CS2D Maps/Editor How to create 3D realistic walls?How to create 3D realistic walls?
15 replies 1
I new here, and I found out that 3D walls are awesome in cs2d maps. So could anyone teach me how to create 3D, easy and realistic walls from a texture?
If you mean you want to make something look 3D, show an example of what you want.
FlamingPhoenix has written
Like Pagyra ones.
You basically answered your own question. Have you tried asking him how he does it?
It's pretty simple, but not quickly. Currently I'm doing it manually pixel by pixel, but I think if there is demand - someone will write a program to automate this process.
1. Try to use only *.png images:
As you can see there is some features of it:
a) All *.bmp images with pink background and black border change color of edges - *.png softens the image and does not change it colors.
b) this will use the alpha channel to create a shadow/glow effect or transparency
c) this will reduce the file size - which is useful for RAM and filetransfer
2. Try to use only seamless textures for tileset as like this:
3. Try to use this template blank for walls
Black - border tile
Red - cross of blending textures(rotated or compressed)
4. Use 33,33 % or less for shading tiles with this:
If you have questions - ask in this thread.
And ok!
That's stupid.
Admin/mod comment
§2.1 - No needless and/or doubled posts (spam)Is this like what you expect?
I also suggest you to work with a program which support layers. Its easier to create each file with that. For example corners. Just create a standard walltile copy the layer and paste it. 90degree rotate it and mask as much of it until you have the perfect wallcorner. Same works with every single tile
tiles by using Pagyra's shading:
made in 2minutes.
btw the diagonal redlines in your template arent nessecary, they'll be given by using your shading method anyway.
edited 1×, last 01.05.14 01:49:58 pm
All lines on the template image are not needed on the final image and it should be only use like layer for the correct location by blend textures. Diagonal lines are sometimes visible in the case we are "one textured wall"(without a "top" wall surface), it's okay if it is understanded by players for walls of brick, stone, etc. , in other words if it has detailed texture. In case if the wall of monotone color/texture(like as painted, plastered, concrete, etc. walls without detailes on it) - then try to avoid visibility of the diagonal lines.
There is a sample:
Do not forget use only seamless textures or use a set of several tiles and placing it in a certain order - otherwise the junction of the two tiles will be seen as a repeatable texture (it looks bad).
I do not want to do a tileset for you - try to make it yourself - I'm sure you will succeed within a few tries and you'll be proud of yourself.
edited 1×, last 01.05.14 03:51:47 pm
edited 2×, last 01.05.14 04:15:55 pm
@ FlamingPhoenix:
i dont know which program you're using, but in photoshop simply press ctrl+T to transform a single layer, then click here to rotate it:
just enter the value (90°) and it's done
And how do they do these?
The edge that doesn't include inside the shading Pagyra has post recently.
How to create the line between roof and wall?
How to make roof?
so it would be nice to finish it and add more different variations. Currently I'm doing it manually, but I think if there is demand - someone will write a program to automate this process.
In case of blending two textures in one tile - such as to create effect of roof(or different moments of height difference) is required to do it more creatively.
I invite mappers who use any 3D elements to share it in this thread.
1